
Connect an ethernet receipt or kitchen ticket printer to Cloud Hub over your local network.
Before you start, you'll need:
- A network-capable printer, connected to your network by ethernet cable and powered on.
- The Cloud Hub device connected to the same network as the printer.
- A manager PIN to access Settings on the device.
Step 1: Connect the printer to your network and open Printing Settings
Make sure the network printer is powered on and connected via ethernet cable to the same network as your Cloud Hub device. On the device, tap your name, then Settings, then Printing Settings under Operations, then + Add printer.
Step 2: Let Cloud Hub scan, then select your printer
Cloud Hub scans your network automatically and lists any printers it finds, labelled Network with their IP address and port (for example 192.168.0.162:9100). Tick the checkbox next to your printer. If more than one appears, check the IP address against the label on your printer, or its own network settings page, to pick the right one.
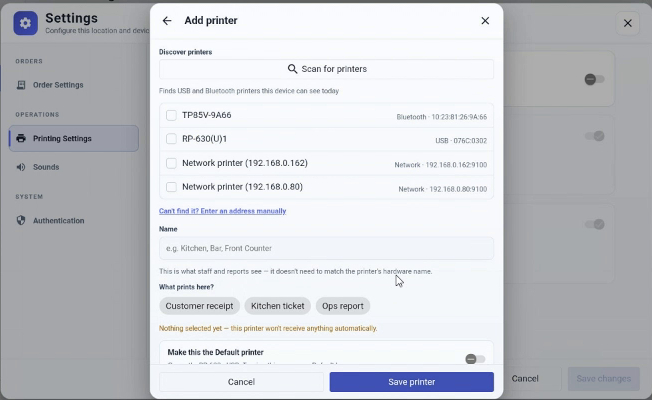
Two network printers discovered automatically, alongside a USB and a Bluetooth device.
Step 3: Give it a name
The Name field fills in with the printer's IP address by default. Rename it to something meaningful for your staff, such as Kitchen or Bar — reports and staff screens show this name, not the IP address.
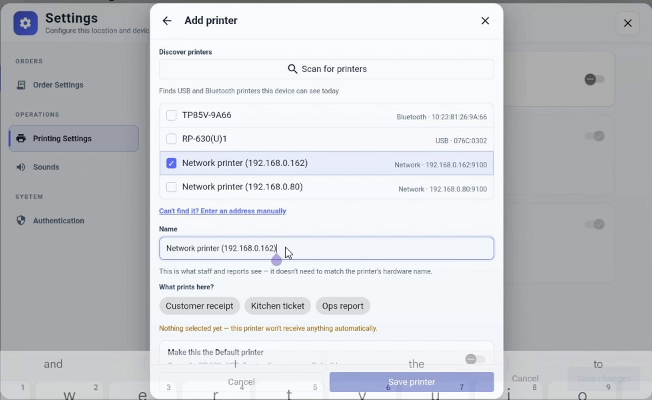
Network printer selected — the Name field defaults to the IP address until you change it.
Naming tip: Include the printer's physical location in its name — for example Kitchen, Bar or Counter — rather than leaving the IP address in place. It's the quickest way for staff to tell printers apart once there's more than one set up, both on screen and when troubleshooting.
Step 4: Choose what prints here, then save
Under What prints here?, choose the document type(s) this printer should receive — for example just Customer receipt if it's a counter printer. Turn on Make this the Default printer only if this should catch anything unassigned. Tap Save printer.
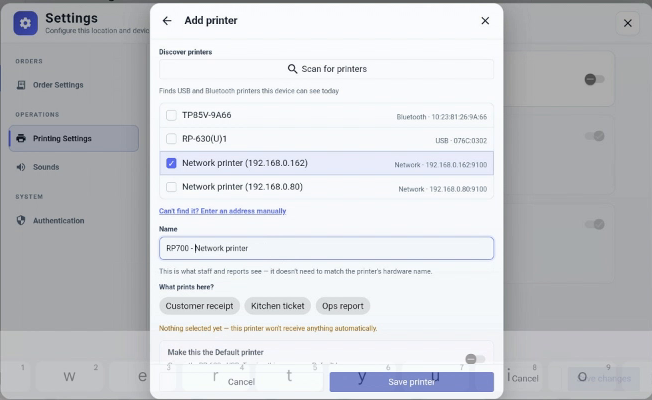
Renamed to “RP700 - Network printer” and assigned to Customer receipt.
Step 5: Confirm it's in your printer list
Your network printer now appears alongside any others you've already added, showing its connection type, IP address, and assigned document types.
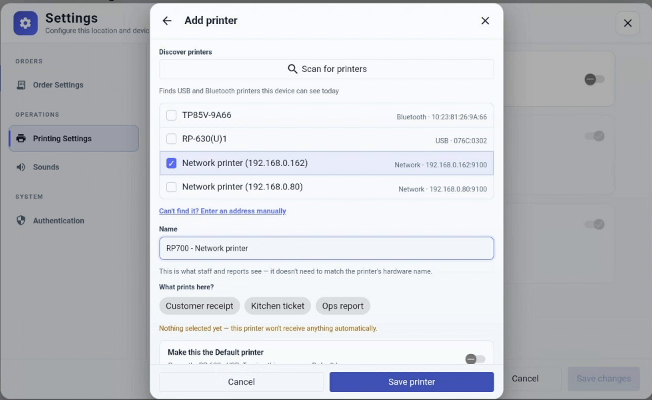
RP700 - Network printer added alongside the USB printer set up earlier.
Check the routing, then run a test print
Once a printer is saved, open Routing & test print from the Printers screen to see, at a glance, which printer each type of document is going to — and to send a test print straight to it.
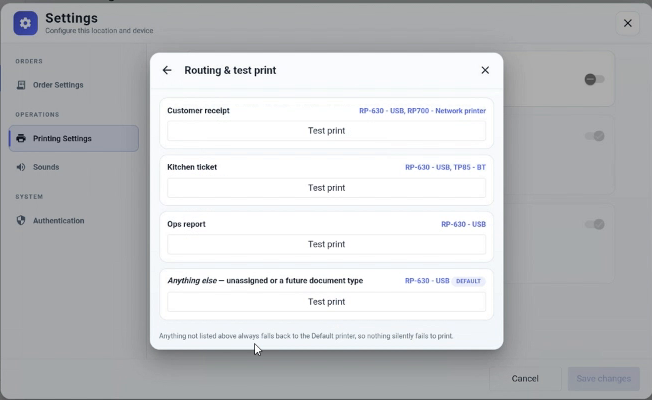
Routing & test print — shows every document type and which printer(s) currently handle it.
| Document type | Printer(s) it currently routes to |
|---|---|
| Customer receipt | RP-630 - USB, RP700 - Network printer |
| Kitchen ticket | RP-630 - USB, TP85 - BT |
| Ops report | RP-630 - USB |
| Anything else — unassigned or a future document type | RP-630 - USB (Default) |
Anything not listed above always falls back to the Default printer, so nothing silently fails to print.
Printer not showing up in the scan? Tap Can't find it? Enter an address manually on the Add printer screen and type in the printer's IP address — most network ESC/POS printers listen on port 9100. You can find the printer's IP address by printing a network configuration ticket from the printer itself, or checking your router's connected devices list.
Double-check the network: The printer and the Cloud Hub device must be on the same local network, and the printer must be connected by ethernet cable — Wi-Fi isn't supported yet. A printer on a guest network, or a different VLAN, won't be discoverable either.